

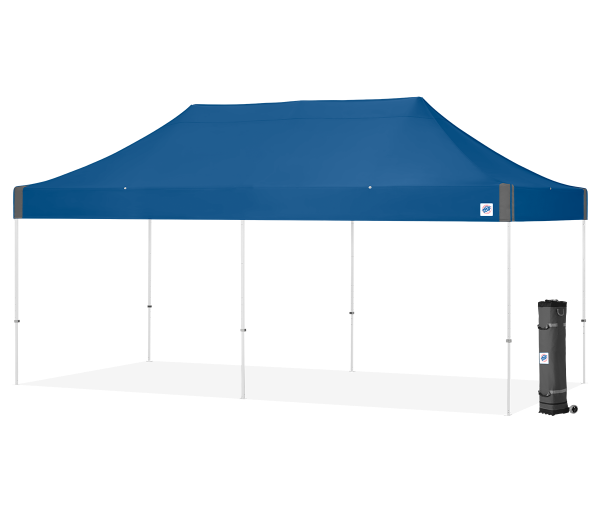
Quick answer: most Canadian schools and teams should begin with a 10' x 10' or 10' x 20' canopy, then choose the frame duty, custom graphics, ballast, sidewalls, and transport equipment around the actual activity. The shelter used for a single school fair may not be the right setup for a team travelling to tournaments every weekend.
E-Z UP Canada's public Schools & Teams collection, sorted by “Most Popular,” currently features the Custom Vantage 10' x 10', Vantage 10' x 20', Custom Pyramid 10' x 10', and Custom Vantage 10' x 20'. Those models provide useful starting points for comparing branded and unbranded team setups.
Start with the activity, not the colour
| School or team need | Useful starting point | Why |
|---|---|---|
| Sideline shade or compact school booth | Vantage 10' x 10' | Medium-duty 100-square-foot format with compact event footprint |
| Branded team or fundraising booth | Custom Vantage 10' x 10' | Custom print choices on a medium-duty frame; the product lists team sports among recommended uses |
| Larger bench, registration, or merchandise area | Vantage 10' x 20' | Double-width footprint where the venue allows it |
| Occasional branded use with lighter-duty priorities | Custom Pyramid 10' x 10' | Custom option classified as light duty on the storefront |
| Frequent or demanding event program | Custom Eclipse 10' x 10' | Heavy-duty custom option for teams needing a more substantial frame class |
10x10 or 10x20 for a school?
A 10' x 10' canopy provides 100 square feet and is easier to fit into a standard booth or sideline area. A 10' x 20' canopy provides 200 square feet and may work better for larger groups, multiple tables, registration, equipment, or a combined sales-and-service layout.
Before buying a 10x20, confirm that the school, field, tournament, or event organizer permits a 20-foot frontage. Compare the two formats in the Canadian 10x10 vs. 10x20 guide.
When custom graphics are worth it
Custom graphics can help identify a team from across a field, make a fundraiser look organized, recognize sponsors, and give students or parents a clear place to check in. Plan for consistent school colours, a readable team name, and only the sponsor marks that have been approved.
For a coordinated setup, consider a custom table cover, custom sidewall, or custom marquee banner. Use the custom graphics page to review the process and request a quote.
Do schools need canopy weights?
Schools and teams need a site-specific anchoring plan. Grass fields, asphalt schoolyards, gym floors, and festival sites may require different compatible equipment. Event rules may specify ballast, prohibit stakes, or impose additional placement requirements.
Useful storefront options include 25 lb. weight bags, water weight bags, and the heavy-duty stake kit. Browse all canopy weights and wind-protection accessories. Anchoring improves stability but does not make a temporary shelter safe in every weather condition.
Transport and storage questions
- Who is responsible for bringing the shelter to each event?
- Will the packed frame fit the available vehicle and storage room?
- How far must it travel from parking to the setup area?
- Are there enough trained adults to set it up according to the manual?
- Will wet fabric be opened and dried before storage?
- Are accessories labelled so weights, sidewalls, and hardware stay with the correct shelter?
A GearRunner folding wagon may help move smaller event equipment, while compatible roller bags should be selected for the exact canopy model.
Canadian venue and fire-safety checks
Ask the school board, municipality, venue, or event organizer what documentation and operating rules apply. Requirements can vary by location and event. Keep the product label and available documentation accessible, and review the Canadian canopy fire-certification guide.
School and team purchase checklist
- List the exact events and frequency of use.
- Confirm the permitted footprint and setup surface.
- Choose light-, medium-, or heavy-duty construction for that use.
- Decide whether custom graphics and sponsor recognition are needed.
- Add compatible anchoring, sidewalls, tables, and transport gear.
- Assign trained adults for setup, monitoring, teardown, and storage.
- Confirm organizer rules and requested safety documentation.
- Practise the complete setup before the first public event.
Browse the most popular school and team canopies, compare all canopy tents, or ask E-Z UP Canada for help building a complete team setup.